Annotating
Below is series of screenshots that show a step for step explanaition on how to annotate sick tulips from you camera. images using Label Studio.
Opening Label Studio
1. Click on the link that you received in your email to annotate. (If it does not work: copy the link and open it in your browser) You will see the following log in webpage. Log in with the credentials that you received in your email.

2. If you logged in succesfully, you will see the following screen. If so, go to the next step.
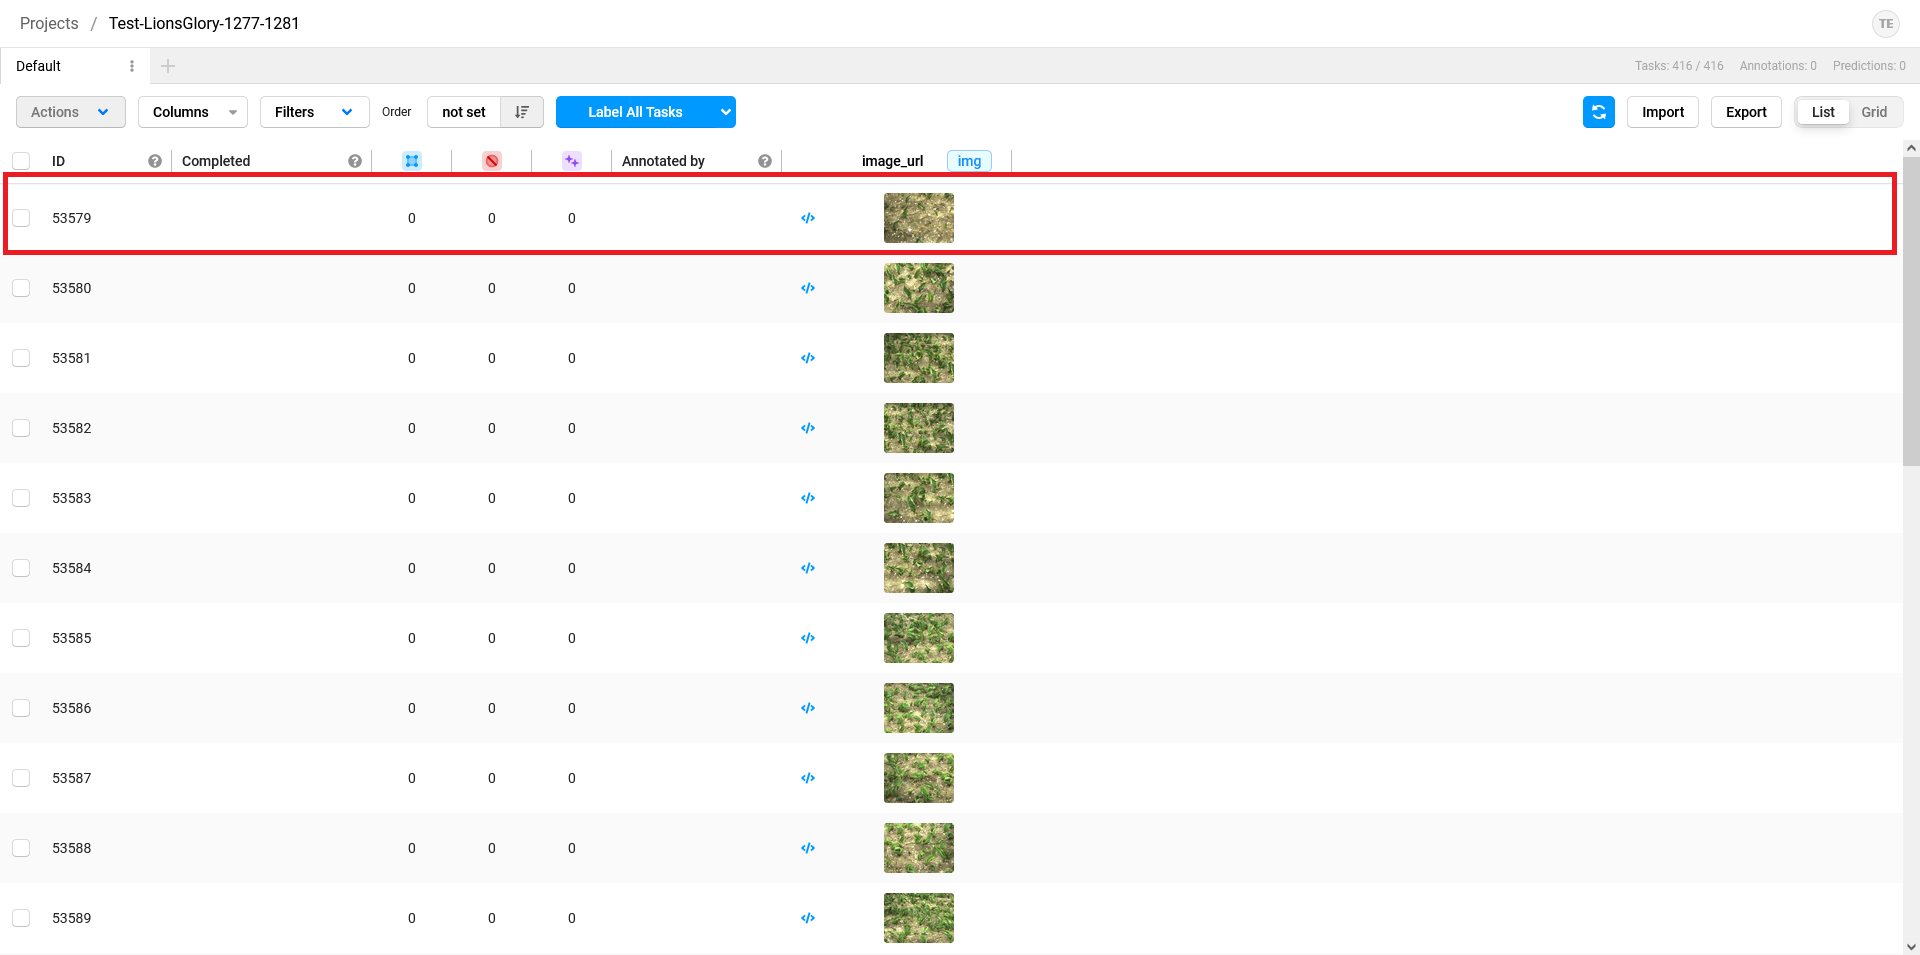
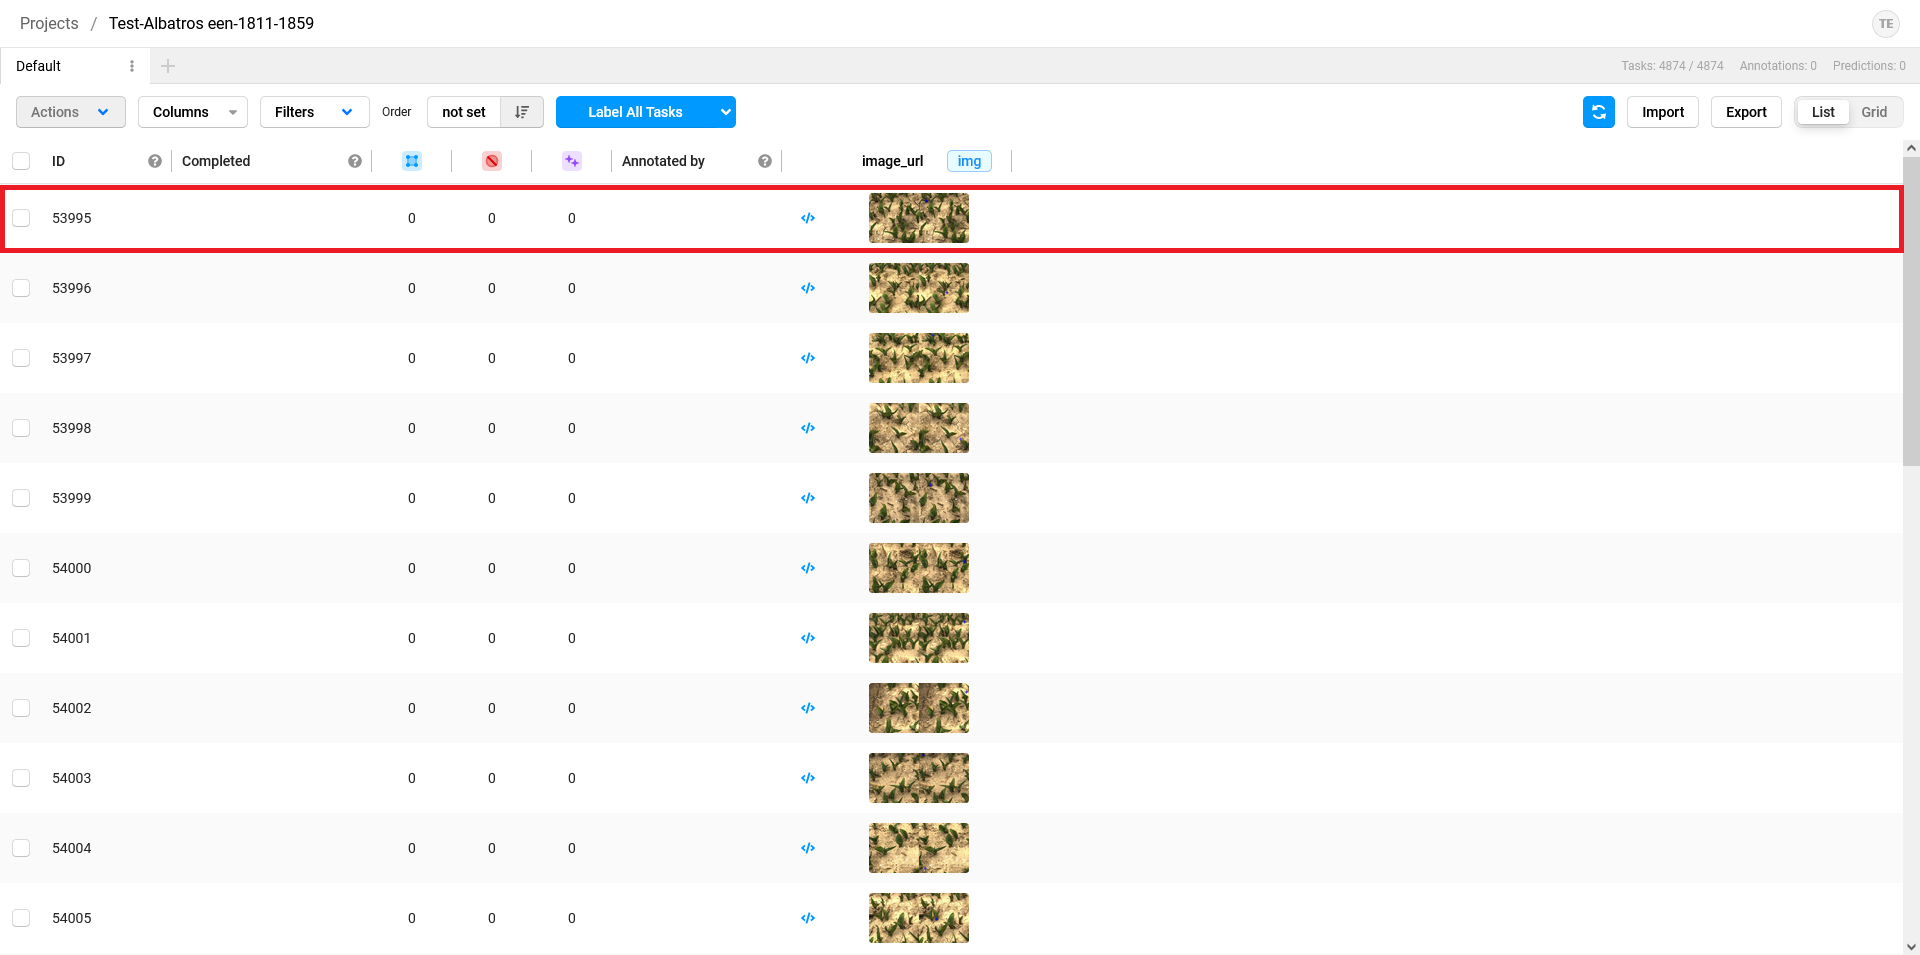
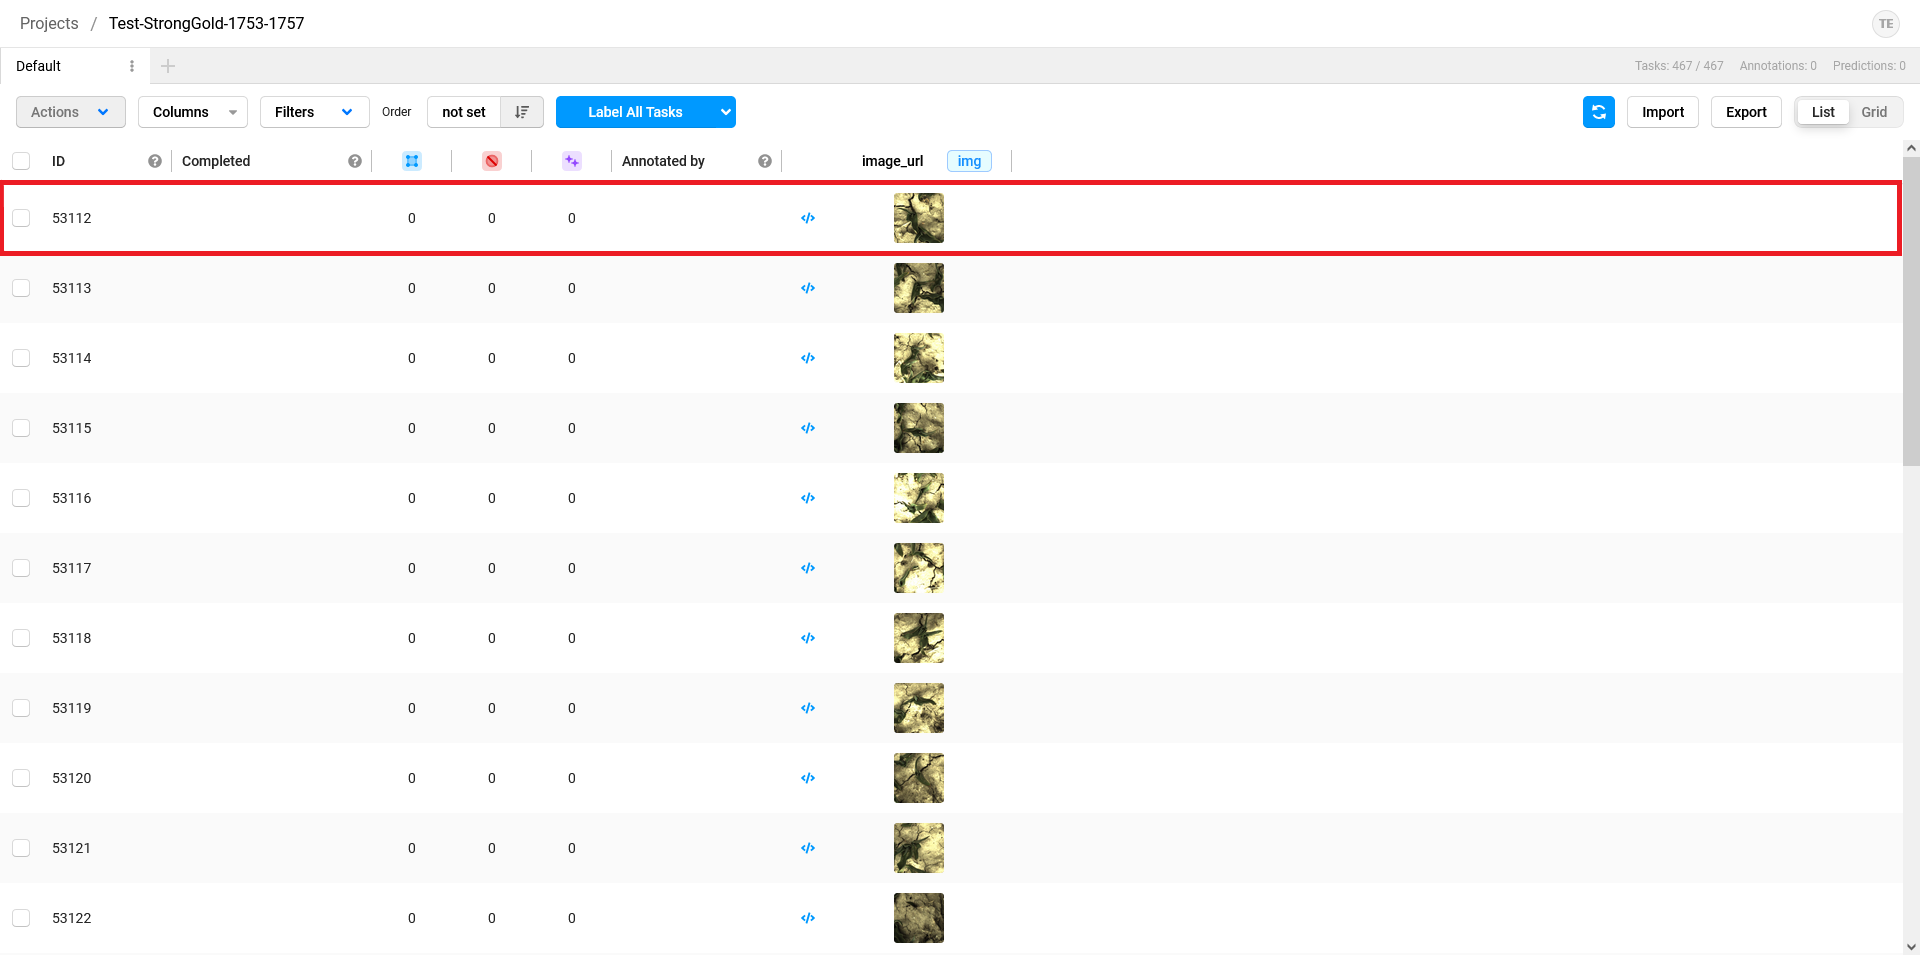
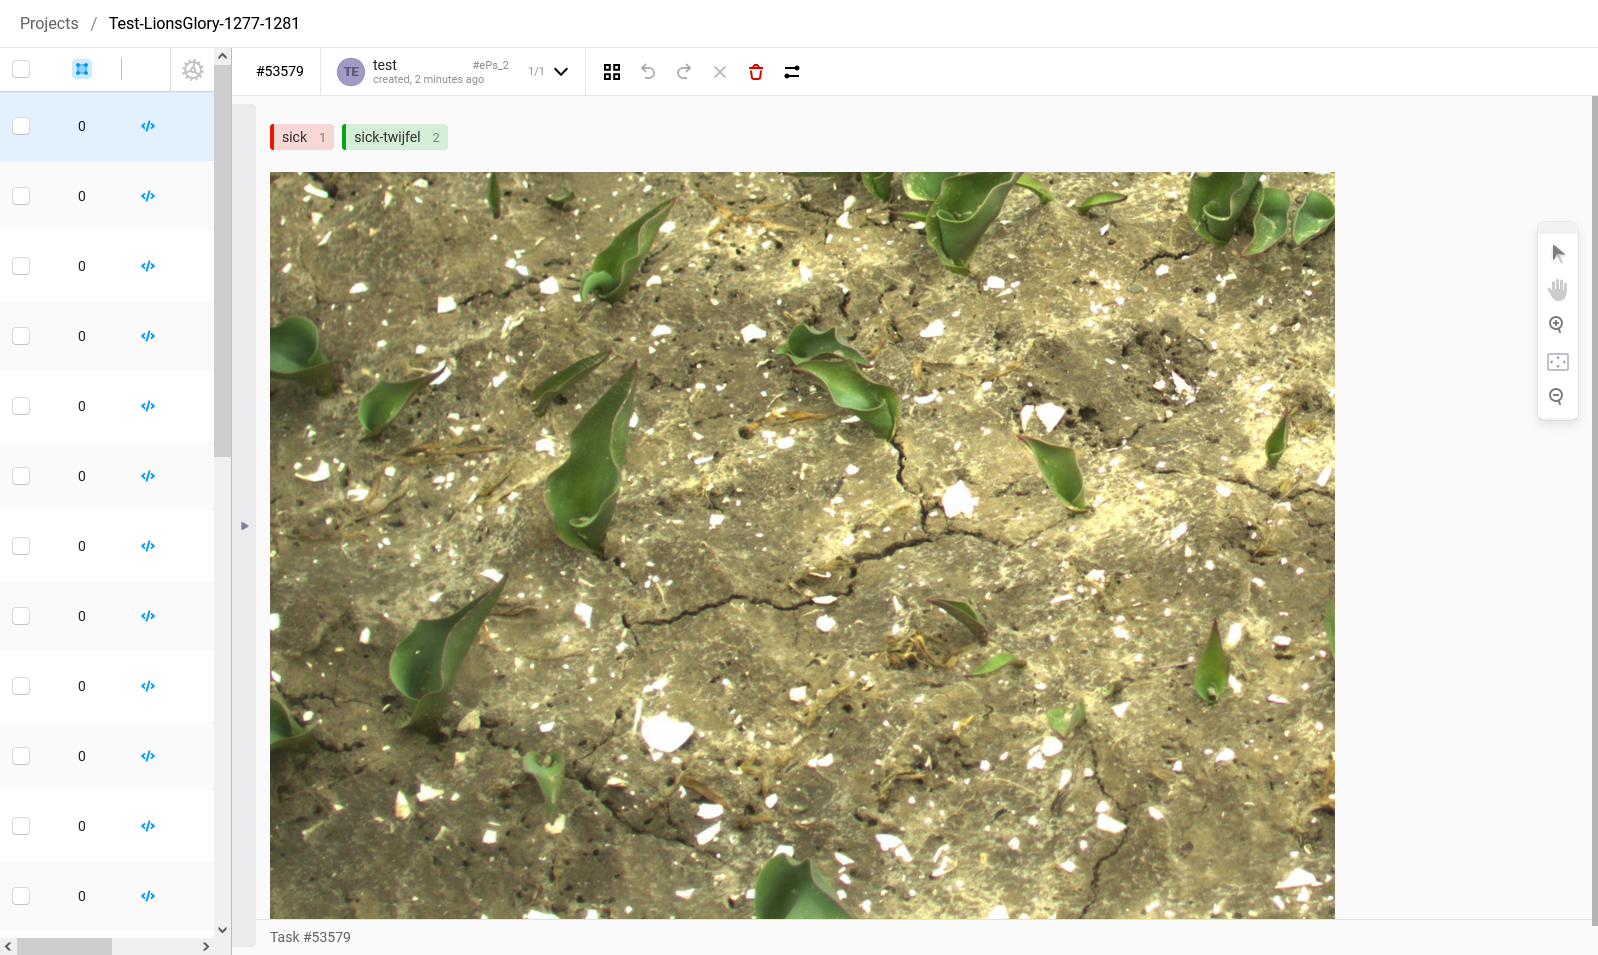
3. Click on the link that you received to annotate again. You will see one of the following screens based on the type of annotation that you were working on. Click on the first image (circled in red).

4. You will see the following screen. Click on annotate.
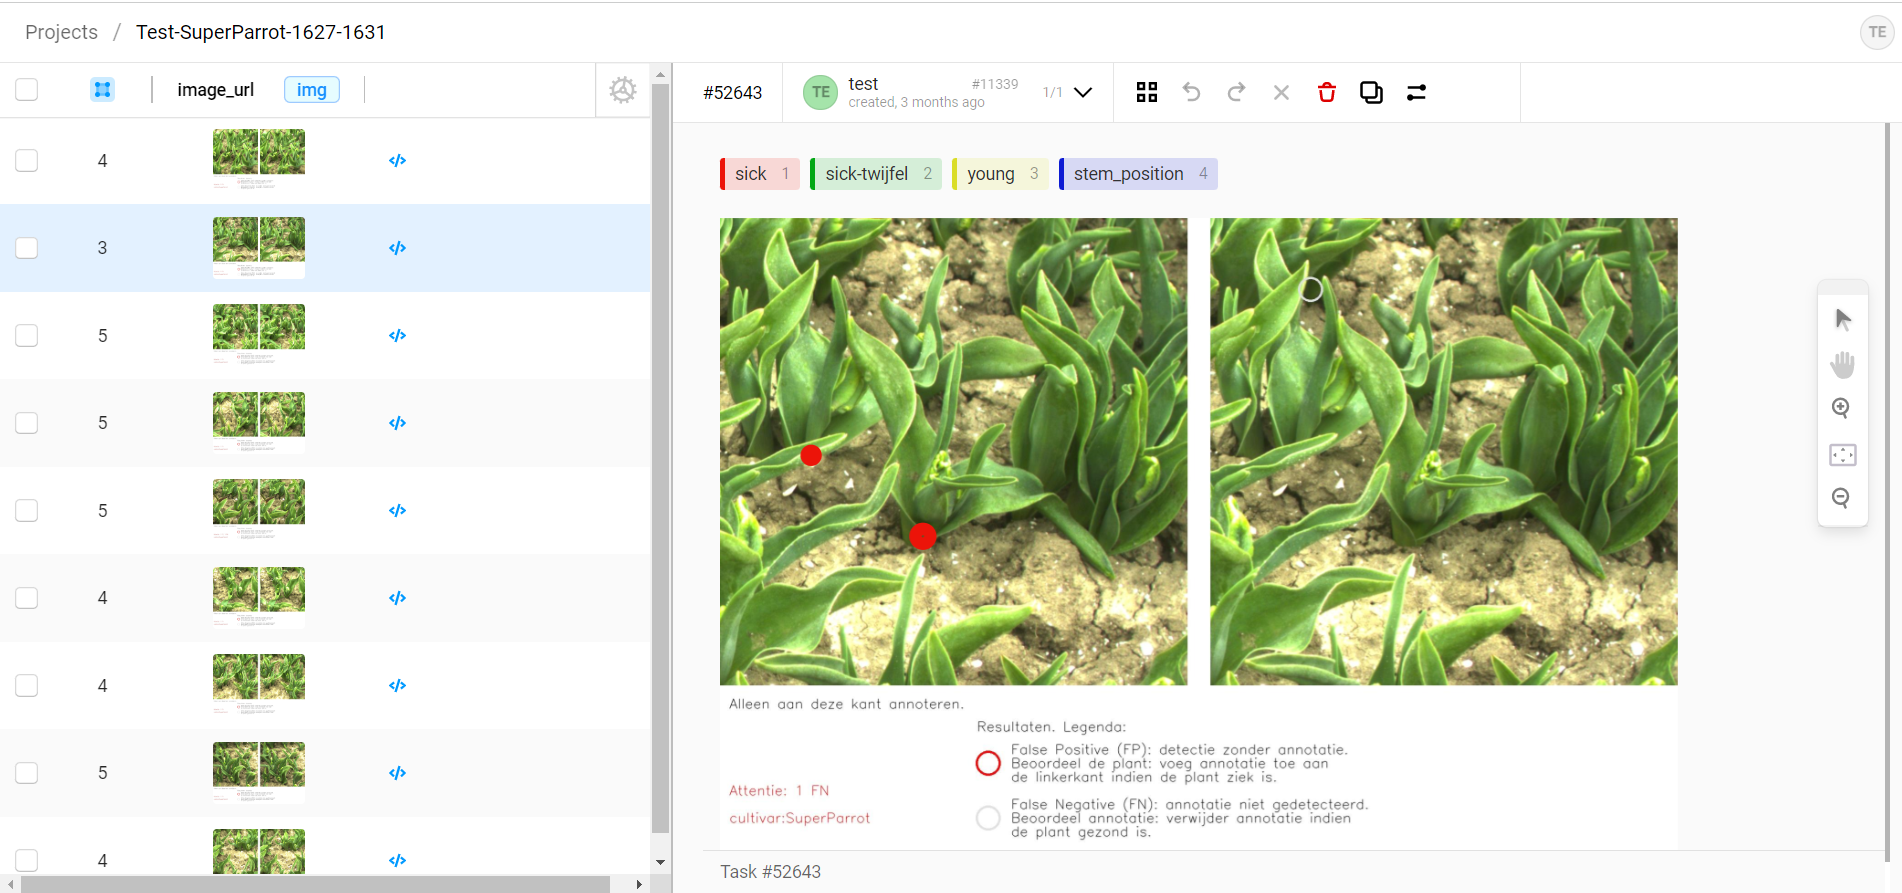
On the image on the left, you can annotate. On the image on the right, you can see where the artificial intelligence currently thinks it sees a sick plant. You don't need to change anything on this side.
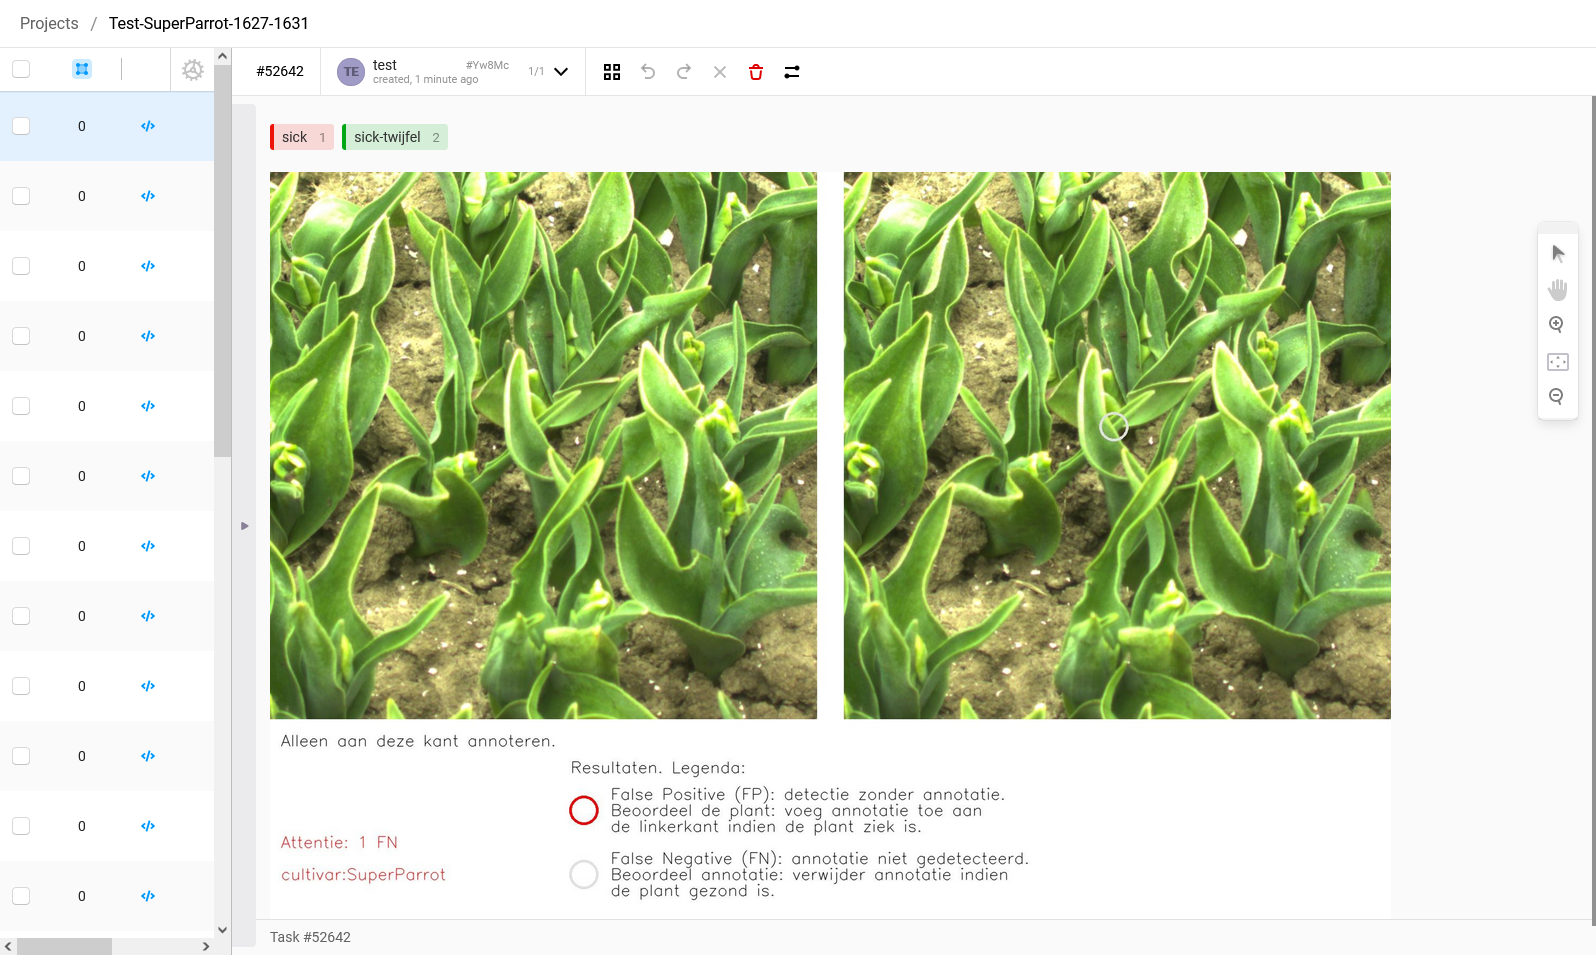
On the image on the left, you can annotate. On the image on the right, you can see where the artificial intelligence currently thinks it sees a sick plant. You don't need to change anything on this side.
Annotating
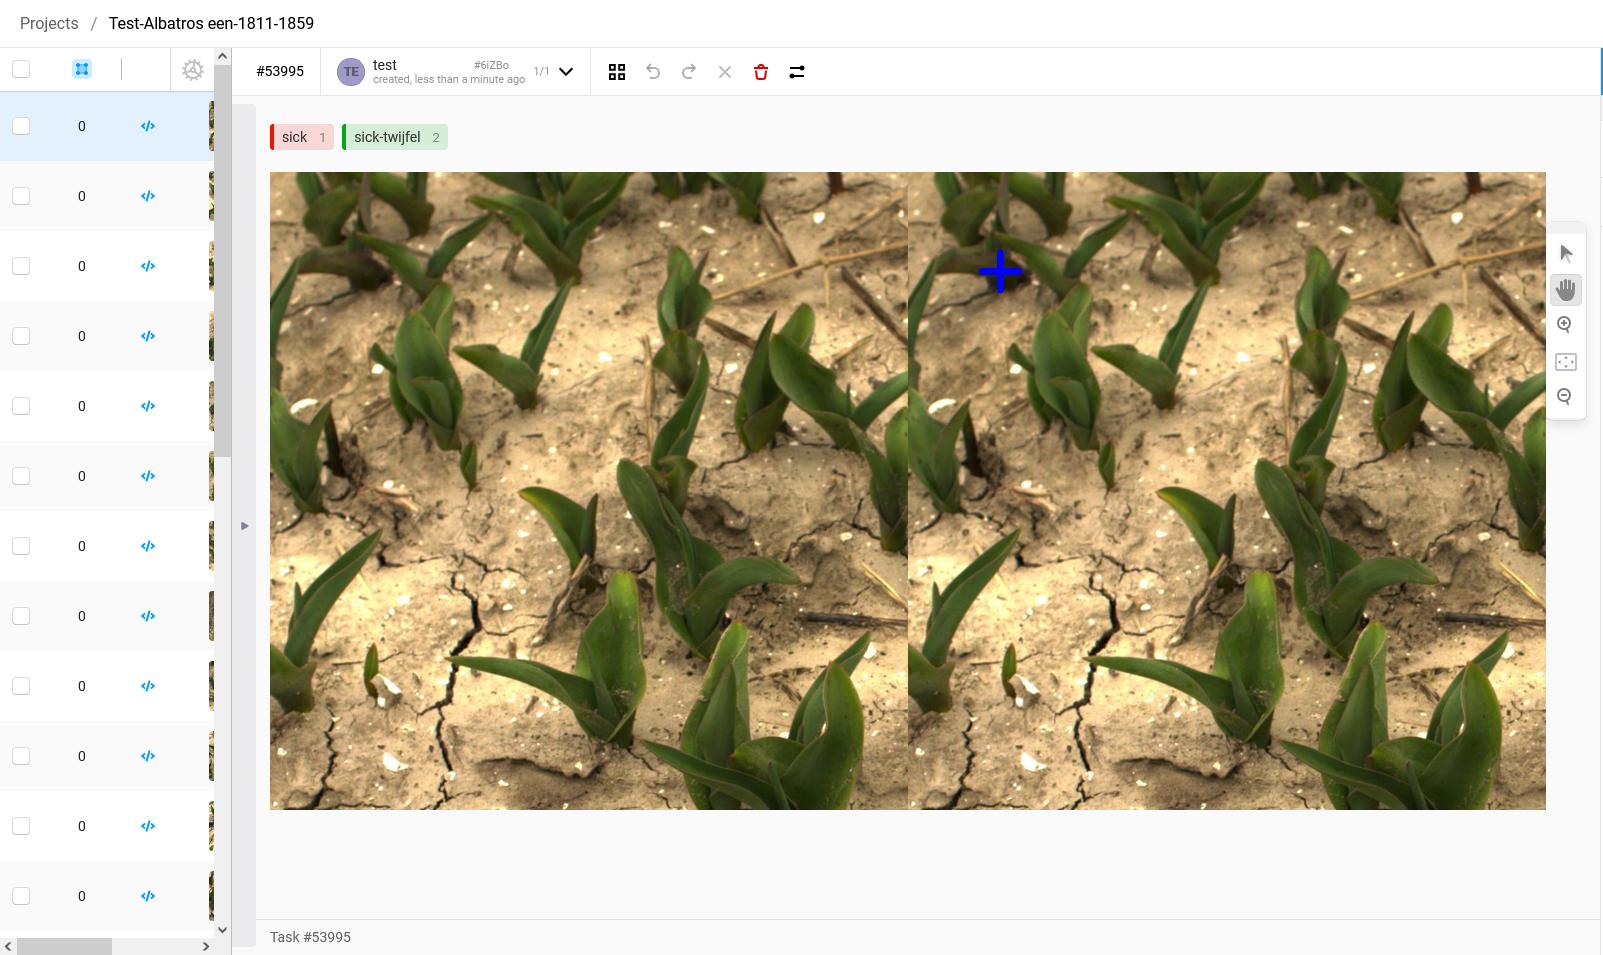
5. To create an annotation of a virus-infected plant, press '1' on the keyboard. You will see that the label will become red. If you are doubting whether the plant is infected and you would have liked to have a view from another angle before deciding, you can select the label 'sick-twijfel' by pressing '2'. If you see a plant that is obviously sick, a textbook example of a sick tulip, a plant that you are 100% sure that is sick then select the label 'super-sick' by pressing '3'.

Afterwards, click in the middle of the spot where the plant leaves the soil.
Zooming in and out
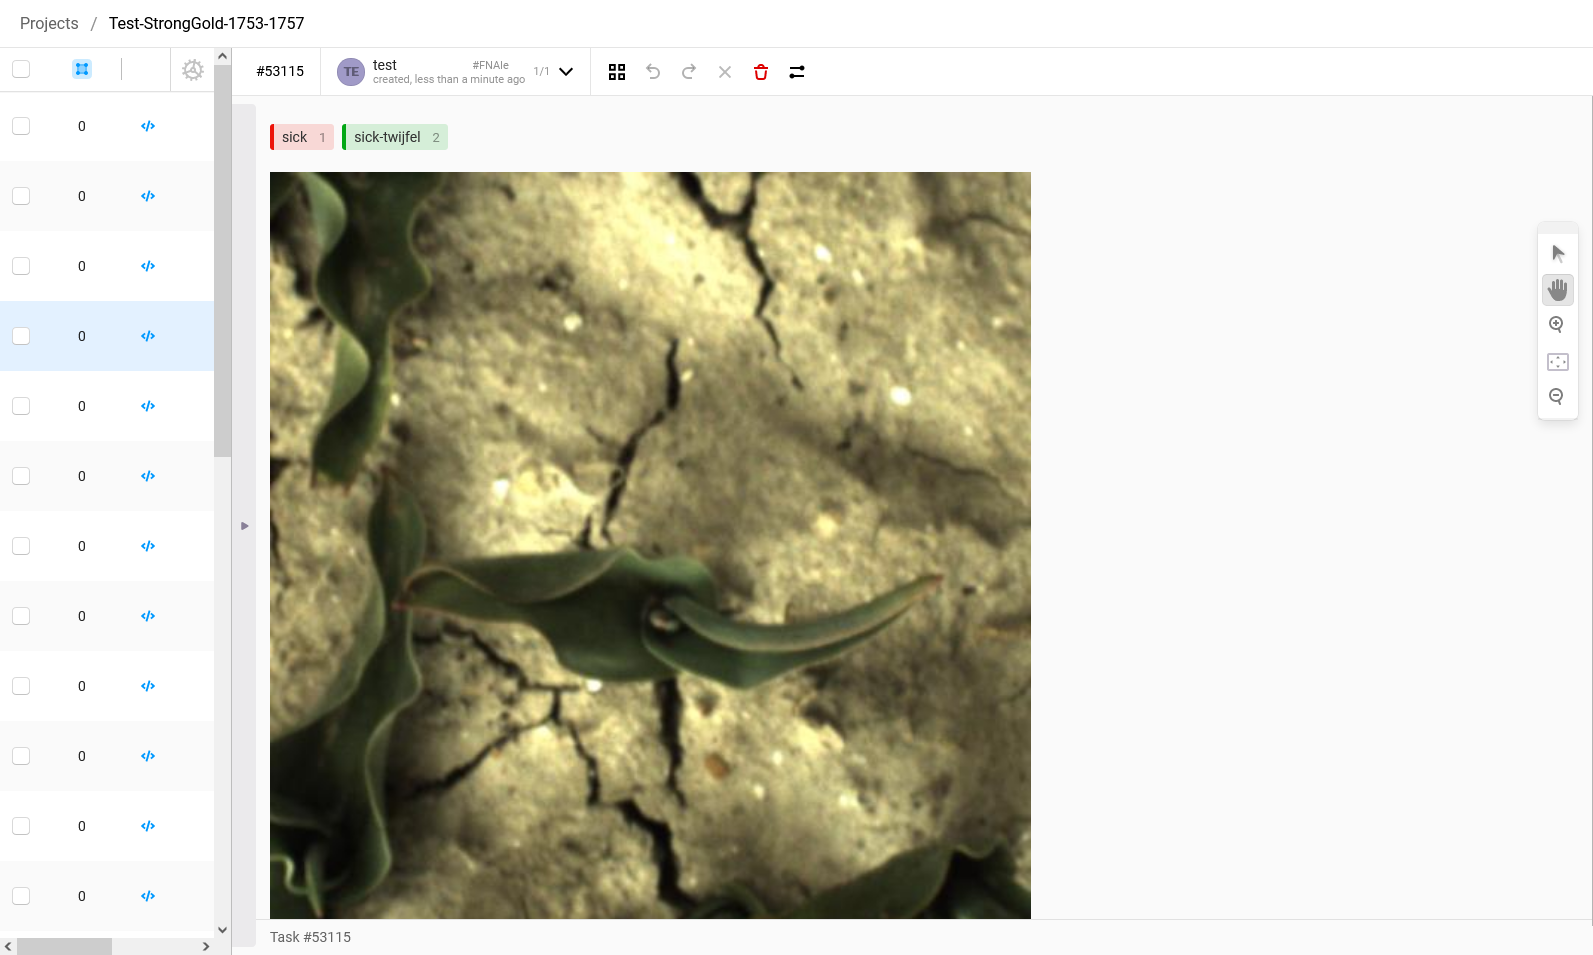
6. If you want to zoom in, you can do so by scrolling with your mouse wheel. When you click with the scroll button, you can drag the image. So with this, you're not dragging the annotation, but your field of view.
Deleting an Annotation
7. If you want to remove an annotation, select the annotation that you want to remove and press 'Backspace'.
Submitting images
8. If you finished annotating the images, press on the space bar on your keyboard to save this image and go to the next photo. Do this after each annotation or image, otherwise your annotations will not be saved. If you have already moved to the next image, but you want to adjust something in a previous image, then you can just click on that photo in the left side panel and press the spacebar afterwards again. Your changes will then be saved again.
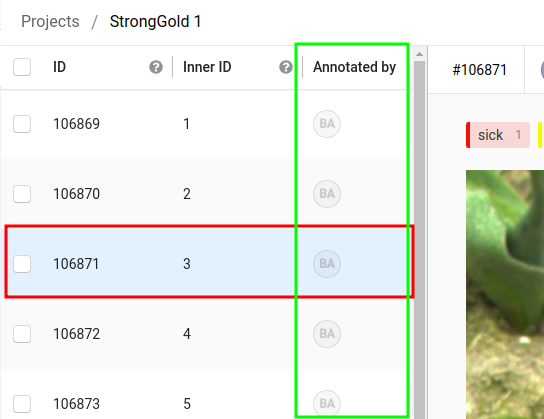
9. In the column lined in green, you can see a circle with the initial letters of your first name and last name if an annotation is saved for that image. The image you are currently working is highlighted in blue, as can be seen in the red lined row.
10. If you are finished with annotating, or you want to stop annotating for another reason, you can simply close the tab in your browser. The next time you open the project folder, you will start at the same photo that you finished the last time.
Keyboard Shortcuts
Tip: By using the keyboard shortcuts, you can annotate much faster. Here you can find all the shortcuts listed once more:
1for selecting the label 'sick'2for selecting the label 'sick-twijfel'3for selecting the label 'super-sick'Spacebarto save the annotation and move on to the next photo
Hints en opmerkingen
In de volgende reeks aan foto's, gaan we in op de locatie van het annoteren en enkele tips om een zo precies mogelijke locatie van de zieke tulpen aan te wijzen.
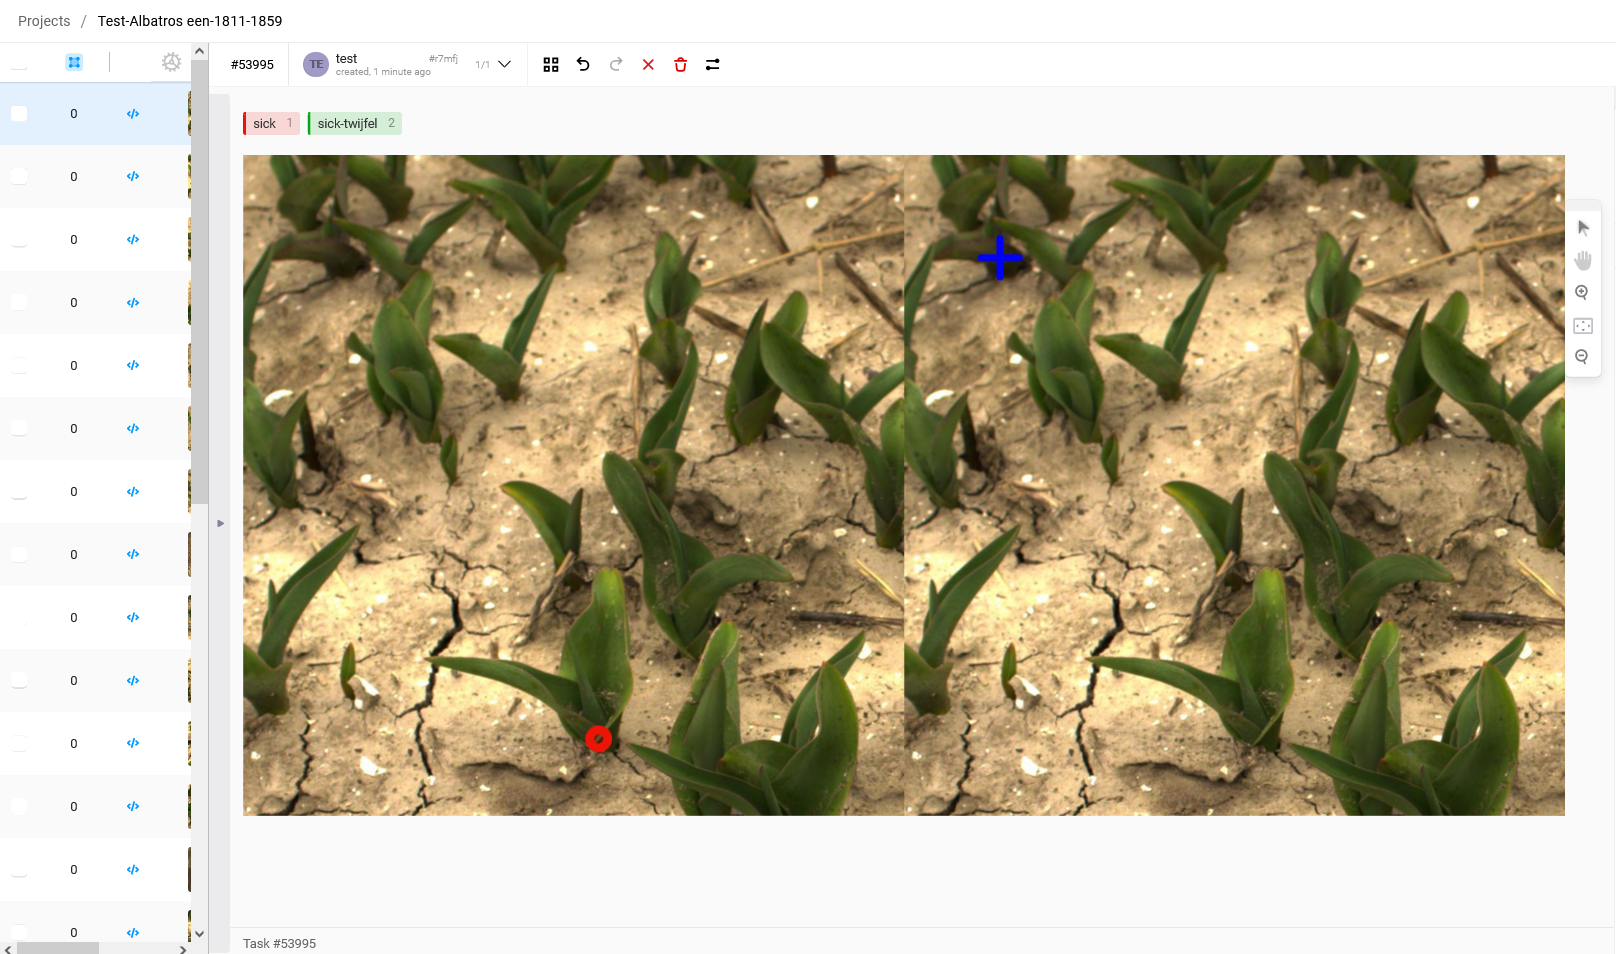
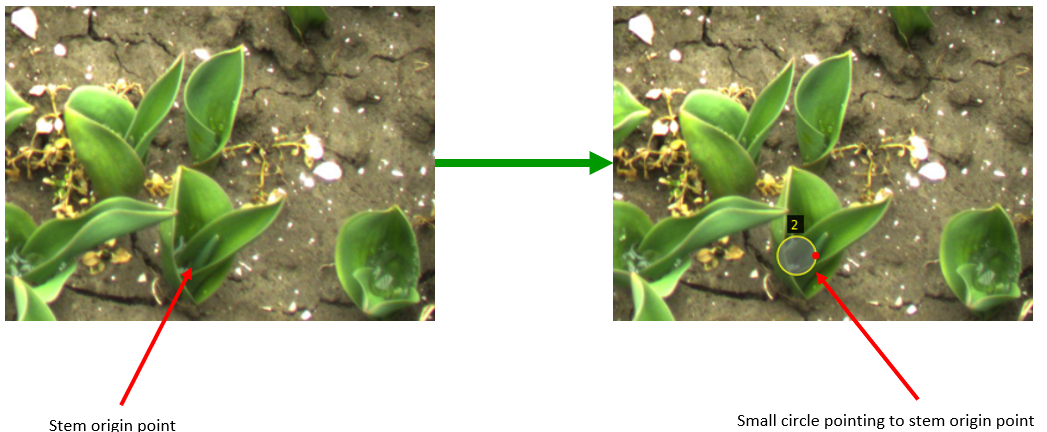
Planten met een duidelijke stam
Probeer het midden van de cirkel, in het het centrum van de stam de plaatsen. Daar waar de plant uit de grond komt wil je annoteren.

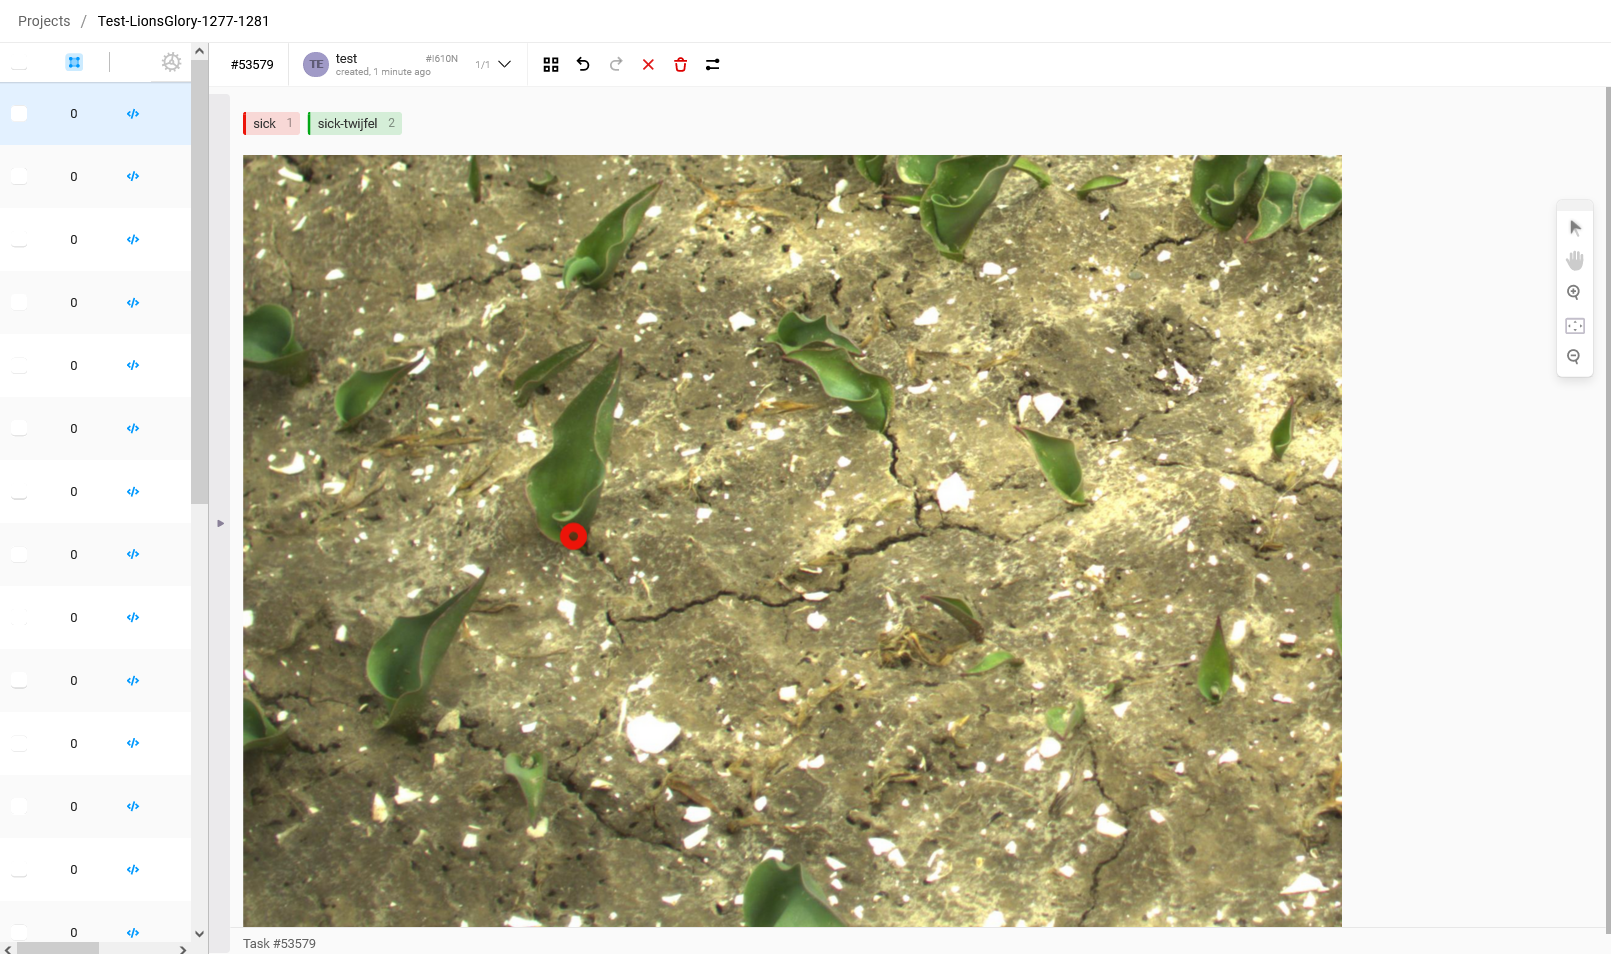
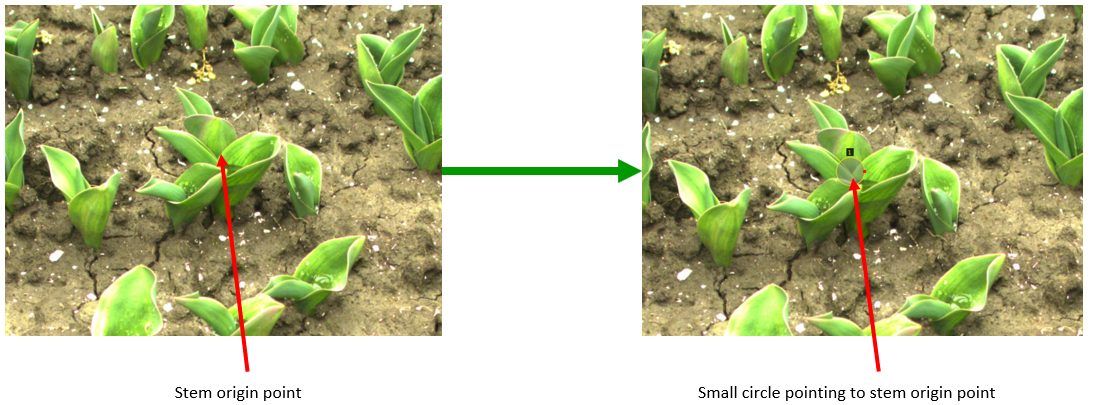
Planten met een onduidelijke stam
Annoteer hierbij de circle in het midden van de plant waar je denk dat deze de grond uti komt.
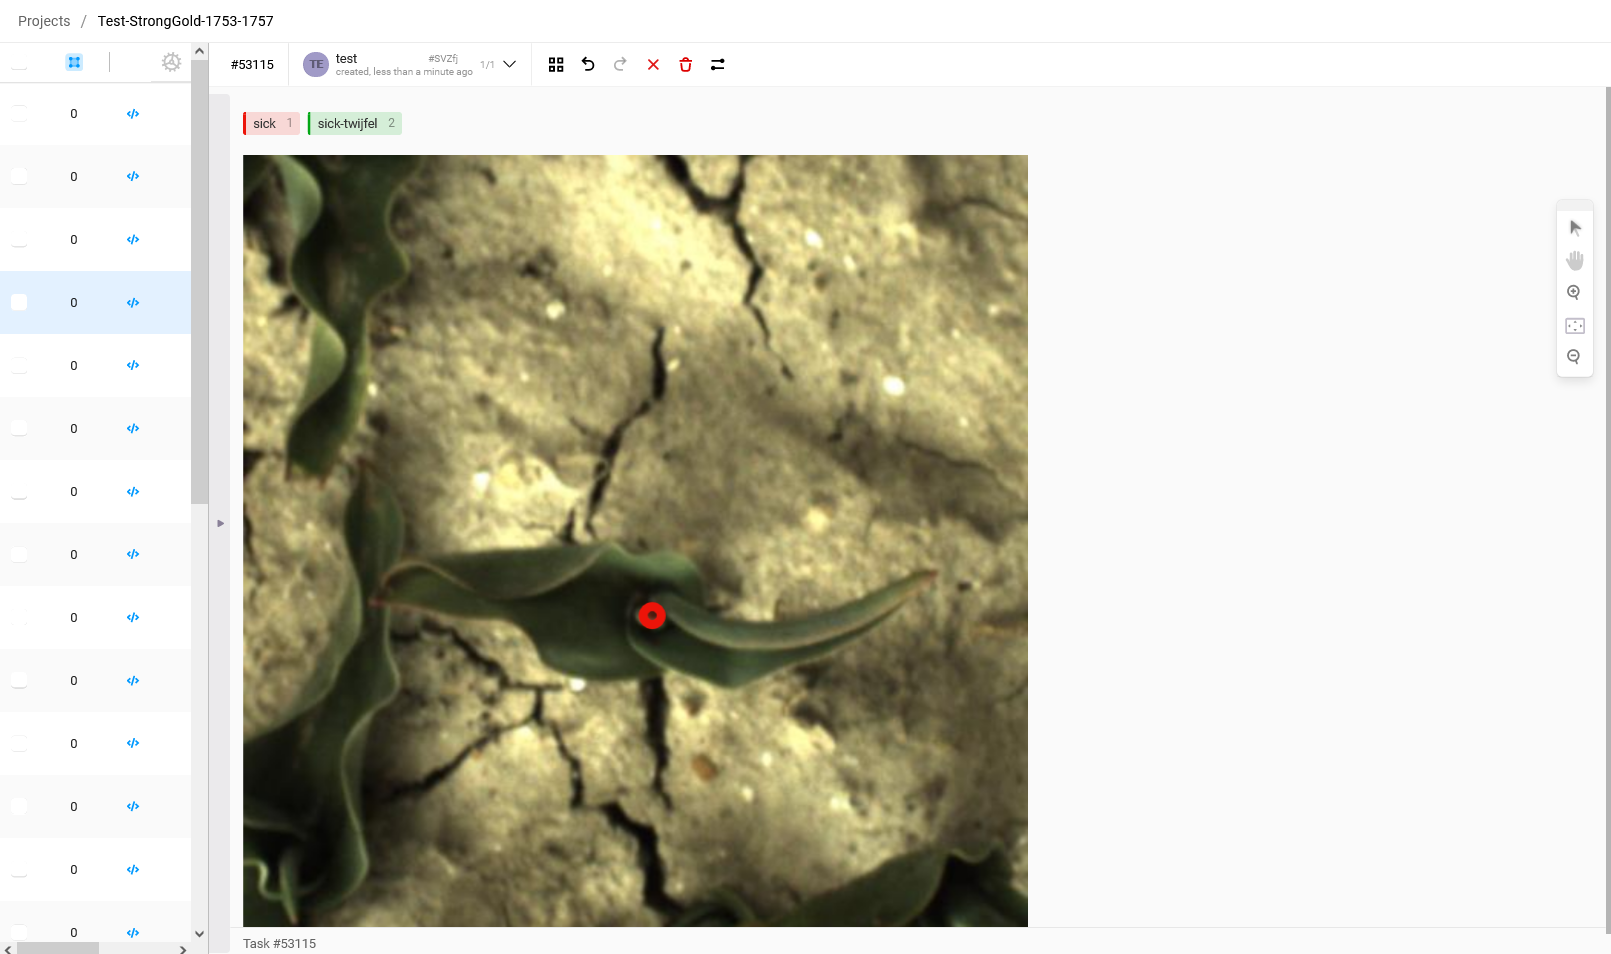
Overschaduwd door gezonde plant
Wanneer een zieke plant overschaduwd wordt door en andere gezonde plant, annoteer ook dan de cirkel waar je denk dat de plant de grond uit komt. Ook als de stam dus niet goed zichtbaar is. Wanneer de stam van de zieke plant echt helemaal uit beeld is, annoteer dan geen cirkel.
Voorbeeld van verkeerd geplaatste annotatie
In het linker figuur hier onder zie je twee annotaties waarbij bijna de gehele plant met de cirkel beschreven wordt, en waarbij het centrum van de cirkels op de grond gericht staat. Maak de cirkels in dit geval wat kleiner en richt het centrum op de stam van de plant waar deze de grond uit komt (zoals in het rechter plaatje)
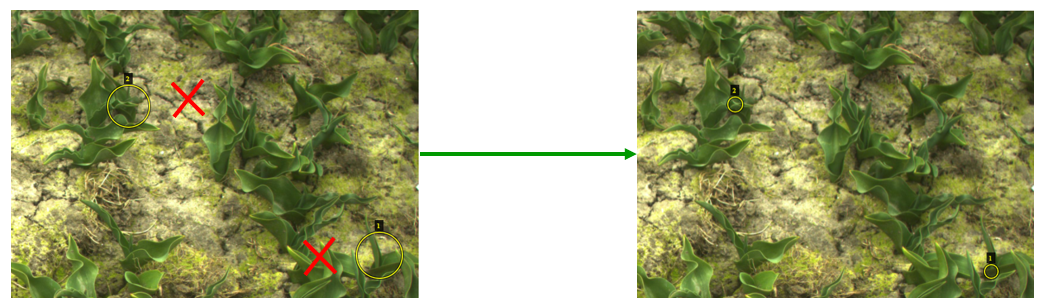
Hieronder staat nog een extra voorbeeld, waarbij een verkeer geannoteerde zieke plant, is gecorrigeerd.
