Creating new boundaries
1. In the section FIELDS, click on EDIT FIELD. At the top of the screen a notification will appear that says you have to click somewhere on the field to start creating the boundary.

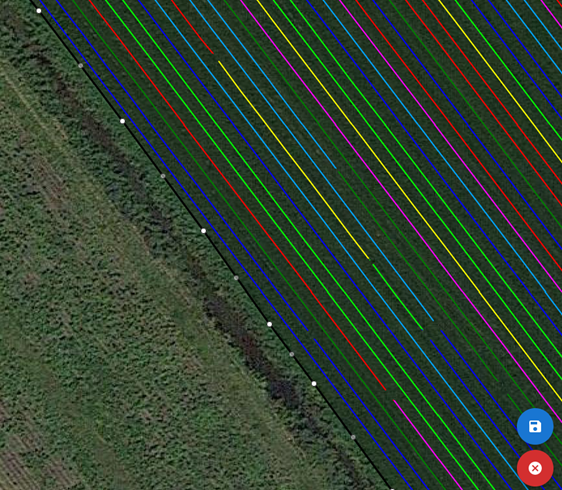
2. With two fingers you can zoom into the corner of the field. Click on the field where you would like to start creating the field boundary. You do not need to do this perfectly the first time, you can replace all the points you made later on.Subsequently, move to the next place around the field that you would like to make the field boundary. A white line will appear between the two selected points that you make. NB: This white line will only appear after you specified two points.
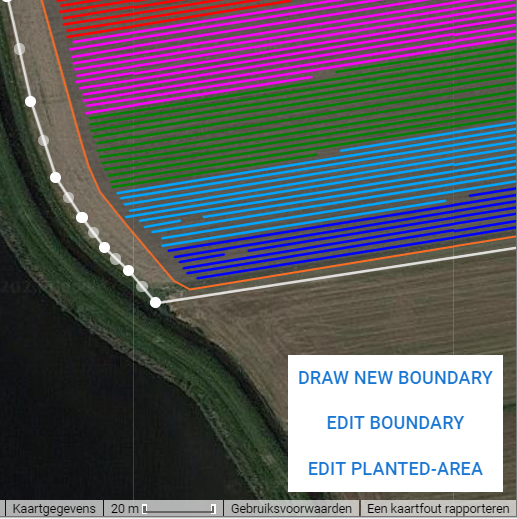
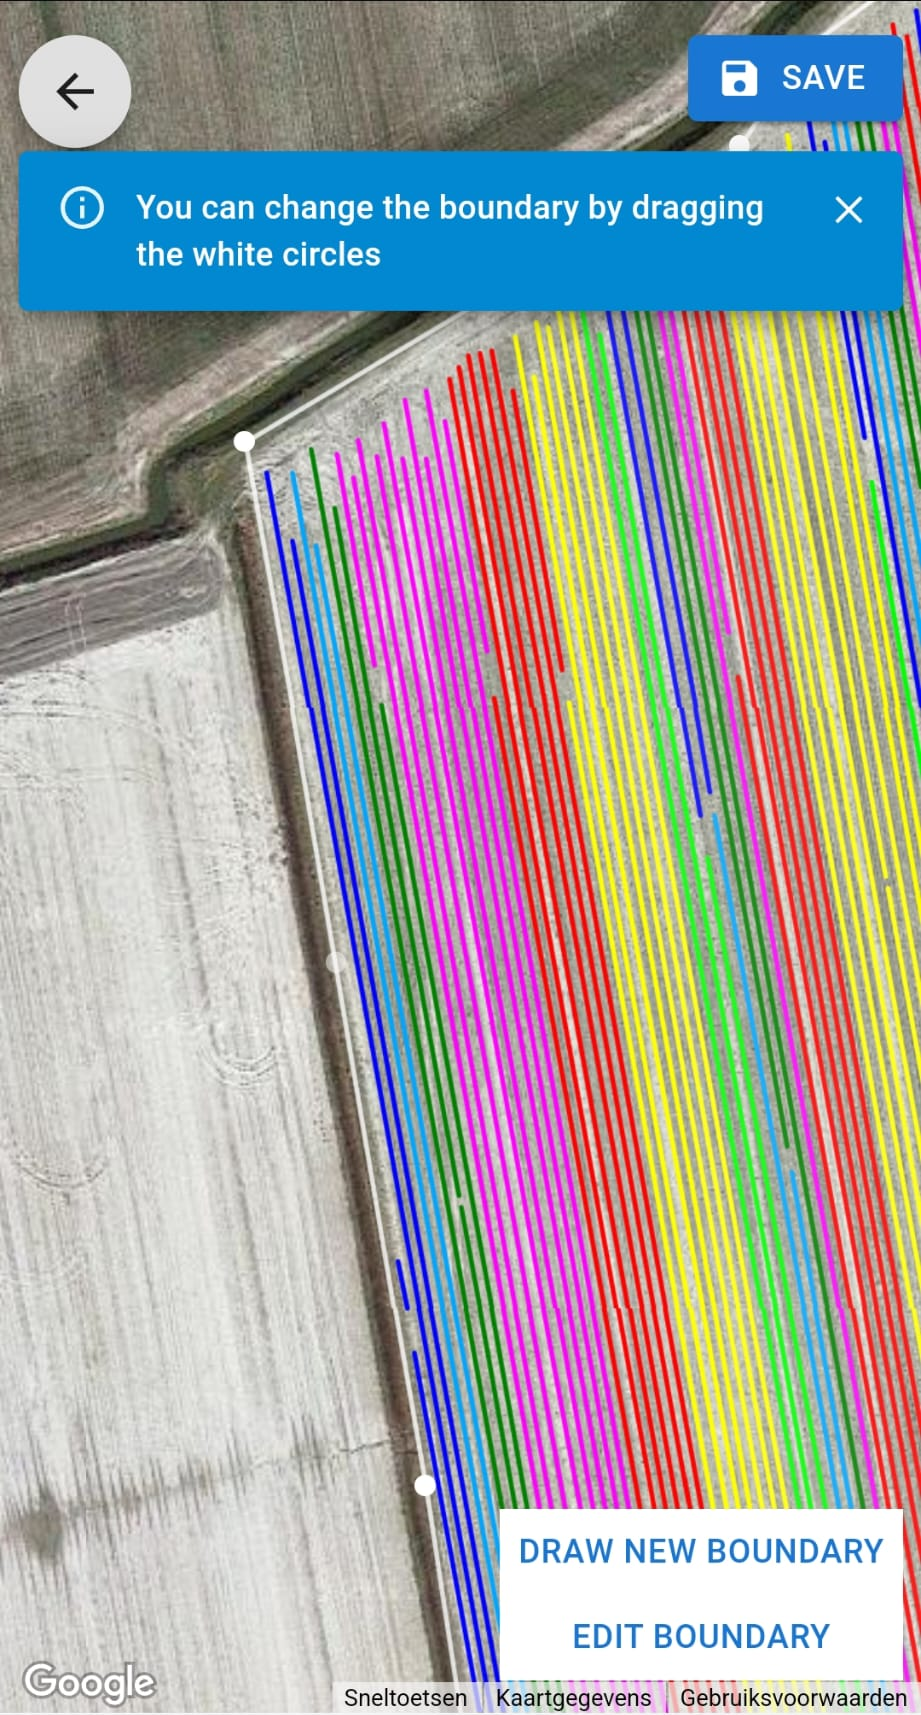
3. In this manner, move around the whole field. The boundary will close when you select the beginning point again. After closing the boundary you can adjust the boundary by selecting the white points and dragging them to the correct place. You can also add new points by clicking on the gray points in between the white ones.
4. When you are satisfied with the boundary, click on the SAVE button. You can always come back and edit the boundary again by clicking on EDIT BOUNDARY.